roughly 80 yards of worsted weight yarn (I used Malabrigo in a blue colorway).
size 4 double pointed needles
Cast on 60 stitches, divided between three double pointed needles, twenty on each needle. Join in round without twisting the stitches.
Knit two, purl two across row for four inches.
Decreases:
Knit two together, purl two across row.
Knit one, purl two across row.
Knit one, purl two together across row.
Knit one, purl one across row.
Knit two together across row.
Cut yarn, leaving a 8 inch tail. Using a tapestry needle, thread through the remaining stitches, pulling the circle closed. Weave in ends.
Because it takes very little yarn, it doesn't take long or very much yarn to knit two, the perfect gift for preemie twins. The edge can be folded up or left down. If it is knit longer, it will work for a full-term babe as well. Because it is knit in rib the entire time, it is very stretchy, which works well for babies who grow really fast.
If you have any questions about this pattern, or want to leave a link to your baby cap, please leave a comment below!
Happy Knitting!
knitting, sewing, cooking, and general wanderings of a girl who loves Jesus and loves to learn
Showing posts with label free pattern. Show all posts
Wednesday, December 25, 2013
Saturday, August 3, 2013
Maxi Skirt Tutorial
When I came across this jersey knit fabric (the gray on the right) at the Scrap Exchange, I instantly thought "Oh, it can be another maxi skirt." And it was only $1 per yard, so I didn't have to worry about how much it would cost to have a generous, full, flowing skirt.
I didn't want to make another elastic waist maxi (like my first maxi) so I was looking around online and found a great tutorial on Stilettos and Diapers (what an awesome blog name is that?). I liked learning how to do the cuffed waist, but I didn't want my skirt to be so tight.
I want to share with you how to make this flowing, super-comfy, and easy maxi skirt.
Start by measuring where you want your maxi skirt to sit, whether that's high waist or hips. Divide that by two. For example, if your waist is 28" around, you want the front waist band to be 14" wide.
If you want to be able to fold over the top of your waist (similar to folding yoga pants), add extra inches for that. My front waist band is 8" long and 15" wide. With 8 inches, I can fold my waist band over twice.
Cut two of these waist band pieces (front and back).
Like normal sewing, sew the right sides together using a straight stitch down the two short ends of the waist band. You now have a circle.
While it can be difficult to tell the difference between the right and wrong sides of a knit fabric, especially one that is not printed, here's a tip. In the picture above, the fabric on the left side is facing with the right side up. The fabric on the right side of the picture has the wrong side facing up. The difference (it can be hard to tell from a picture)? The right side has a series of interlocking V's and the wrong side has a series of horizontal bumps.
So now that you know your waistband has two right sides facing together, sew the 8 inch sides together.
Measure from your waist (or wherever your waistband is going to be) to the floor and add two inches for a hem.
I am using a blue maxi skirt that I did not make from a frame of reference for how wide I want my skirt to be. My fabric was 26.5" wide and 40 inches long.
Sew the two long sides of the two skirt rectangles with right sides together so you have a tube.
Using the largest zig zag stitch on the sewing machine and a piece of cotton yarn (DK or worsted weight), zig zag over the piece of yarn along the top edge of the tube.
Begin gathering the fabric so that it is small enough in circumference to line up with the waist band piece by pulling on the end of the yarn.
Start pinning the right side of the waistband to the right side of the gathered edge of the skirt. Begin by matching up the side seams of the skirt to the side seams of the waistband. Pin the halfway points as well. After those four points are secure, pin every inch or so around the entire circle.
Sew the waistband and skirt together with a straight stitch.
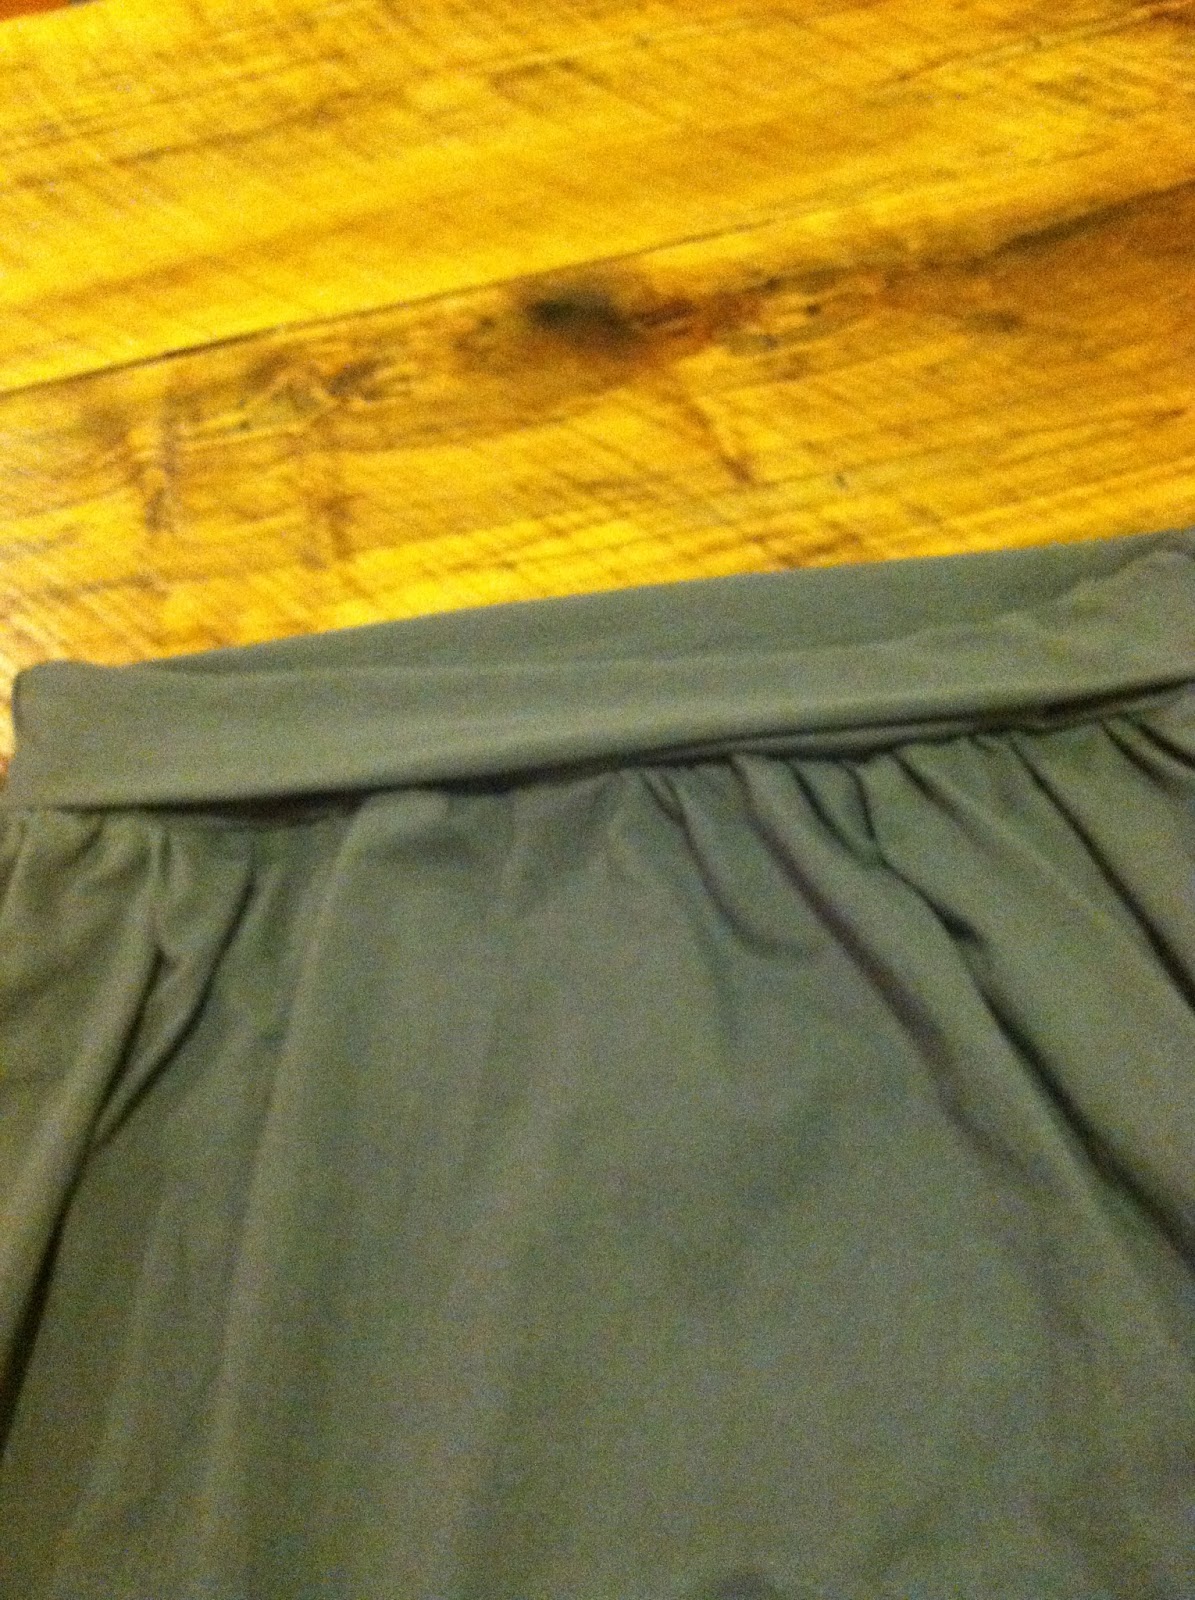
Yay! Here's your skirt. At this point you can hem the skirt to the proper length after you try it on. Knit jersey fabric rolls well, so if you decide you'd rather not, you don't have hem it.
Here is the inside of your skirt. You can remove the piece of yarn that you used to gather the fabric by pulling it out.
I still need to shorten my skirt, but here is what the finished skirt looks like. It's flowy, loose, and comfortable.
Please comment if you run into any problems. Happy Sewing!
Tuesday, July 31, 2012
Hats for Twin Boys
My mom and I knit a pair of brown and gold hats from Vintage Worsted on vacation. It is a simple pattern I designed based off a generic prototype. Vintage is a wonderful, machine-washable yarn with lovely colors that is easy to knit. It makes a great gift knitting yarn because it's machine washable, so a non-knitter can care for it easily.
Materials:
Vintage Worsted (217 yards/skein) 1 skein or other worsted weight yarn
circular or dpn US size 8
Note: One skein of Vintage Worsted can make two hats.
Cast on 70 stitches of circular needles. Place marker and join in round without twisting.
*Knit 1 round.
Purl 1 round.
Repeat from * 3 times
Knit in stockinette stitch (knitting all stitches, each round) for 3.5 inches.
Begin decreases:
*K8, K2tog, repeat from star across round.
Knit all stitches.
*K7, K2tog, repeat from star across round.
Knit all stitches.
*K6, K2tog, repeat from star across round.
Knit all stitches.
*K5, K2tog, repeat from star across round.
*K4, K2tog, repeat from star across round.
*K3, K2tog, repeat from star across round.
*K2, K2tog, repeat from star across round.
*K1, K2tog, repeat from star across round.
*K2tog, repeat from star across round.
Cut yarn, leaving a 10 inch tail, thread tail through remaining 7 stitches. Pull hole closed. Weave tails in.
Congratulations! You now have a toddler sized cap with a garter stitch brim. If you have any questions, leave a comment!
Happy Knitting!
Materials:
Vintage Worsted (217 yards/skein) 1 skein or other worsted weight yarn
circular or dpn US size 8
Note: One skein of Vintage Worsted can make two hats.
Cast on 70 stitches of circular needles. Place marker and join in round without twisting.
*Knit 1 round.
Purl 1 round.
Repeat from * 3 times
Knit in stockinette stitch (knitting all stitches, each round) for 3.5 inches.
Begin decreases:
*K8, K2tog, repeat from star across round.
Knit all stitches.
*K7, K2tog, repeat from star across round.
Knit all stitches.
*K6, K2tog, repeat from star across round.
Knit all stitches.
*K5, K2tog, repeat from star across round.
*K4, K2tog, repeat from star across round.
*K3, K2tog, repeat from star across round.
*K2, K2tog, repeat from star across round.
*K1, K2tog, repeat from star across round.
*K2tog, repeat from star across round.
Cut yarn, leaving a 10 inch tail, thread tail through remaining 7 stitches. Pull hole closed. Weave tails in.
Congratulations! You now have a toddler sized cap with a garter stitch brim. If you have any questions, leave a comment!
Happy Knitting!
Subscribe to:
Posts (Atom)