Showing posts with label sewing. Show all posts
Showing posts with label sewing. Show all posts
Thursday, August 8, 2013
Blog Roundup
As my life has been a bit crazy this week with moving from one city to another with the process of packing to go to third city this weekend, and fourth (and final) city next week to move back onto campus for the college semester. Because crafting has not really been happening this week, between packing, visiting the art museum with my lovely sisters, and hanging out at the pool with my aunt and cousins, I wanted to share some of my favorite blogs from around the internet. Some of these blogs I've followed for a while and others I've only just discovered.
Never Not Knitting is my favorite knitting blog. Her podcasts include her knitting projects for her patterns, her difficulty with traveling to book signings with her six year old and her one year old, and beautiful photographs of her projects. Even though many times she won't release full details because of her knitting is often content from her books, everything is artfully and tastefully done and exciting to watch progress. Her theme song for the podcast is the best! Her botanical knits are stunning. The Oak Grove Fingerless Mitts and the Seedling Beret are some of my favorites.
Fresh Modesty is a new blog I stumbled upon because of her sewing blog, Working with Eager Hands. She has two e-books about sewing with jean fabric and sewing modest swimwear. Her navy lace dress and her chevron maxi skirt are some of my favorites of her sewing projects.
Stilettos and Diapers is a another new blog I came across recently because of her maxi skirt tutorial. Her recipes for clean eating and her DIY section are probably my favorite sections, but her fashion posts are cute as well.
Simple Simon and Company is a great sewing blog written by two moms, liZ and Elizabeth. They sew mostly for their adorable children, write great tutorials, and take gorgeous photos. Some of my favorite tutorials of theirs are the Morton Salt Girl Dress and the Easy Maxi Skirt. They write beautiful posts about the Art of Homemaking. "We would do well to slow down a little, focus on the significant, and truly see the things that matter most." Dieter F. Uchtdorf.
Sewing in No Man's Land is another one of my favorite sewing blogs. This seamstress is married to a foreign service officer and she blogs about her sewing, kids, DIY projects, and adventures of finding fabric and materials all over the world. She also has great tutorials for sewing for kids.
Made, another great mom sewing blog, has some of my favorite sewing tutorials and technique instructions. She's also the author of Fabrics A to Z, which is a great resource to understand fabrics and how they will behave in certain projects and how you can use they to show off their strengths.
Go look around for some great crafting, sewing, cooking, and fashion inspiration!
Please comment with your favorite blogs to read (or your own). :)
Happy Thursday.


Saturday, August 3, 2013
Maxi Skirt Tutorial
When I came across this jersey knit fabric (the gray on the right) at the Scrap Exchange, I instantly thought "Oh, it can be another maxi skirt." And it was only $1 per yard, so I didn't have to worry about how much it would cost to have a generous, full, flowing skirt.

I didn't want to make another elastic waist maxi (like my first maxi) so I was looking around online and found a great tutorial on Stilettos and Diapers (what an awesome blog name is that?). I liked learning how to do the cuffed waist, but I didn't want my skirt to be so tight.
I want to share with you how to make this flowing, super-comfy, and easy maxi skirt.
Start by measuring where you want your maxi skirt to sit, whether that's high waist or hips. Divide that by two. For example, if your waist is 28" around, you want the front waist band to be 14" wide.
If you want to be able to fold over the top of your waist (similar to folding yoga pants), add extra inches for that. My front waist band is 8" long and 15" wide. With 8 inches, I can fold my waist band over twice.
Cut two of these waist band pieces (front and back).


Like normal sewing, sew the right sides together using a straight stitch down the two short ends of the waist band. You now have a circle.

While it can be difficult to tell the difference between the right and wrong sides of a knit fabric, especially one that is not printed, here's a tip. In the picture above, the fabric on the left side is facing with the right side up. The fabric on the right side of the picture has the wrong side facing up. The difference (it can be hard to tell from a picture)? The right side has a series of interlocking V's and the wrong side has a series of horizontal bumps.
So now that you know your waistband has two right sides facing together, sew the 8 inch sides together.

Measure from your waist (or wherever your waistband is going to be) to the floor and add two inches for a hem.
I am using a blue maxi skirt that I did not make from a frame of reference for how wide I want my skirt to be. My fabric was 26.5" wide and 40 inches long.

Sew the two long sides of the two skirt rectangles with right sides together so you have a tube.
Using the largest zig zag stitch on the sewing machine and a piece of cotton yarn (DK or worsted weight), zig zag over the piece of yarn along the top edge of the tube.


Begin gathering the fabric so that it is small enough in circumference to line up with the waist band piece by pulling on the end of the yarn.


Start pinning the right side of the waistband to the right side of the gathered edge of the skirt. Begin by matching up the side seams of the skirt to the side seams of the waistband. Pin the halfway points as well. After those four points are secure, pin every inch or so around the entire circle.

Sew the waistband and skirt together with a straight stitch.

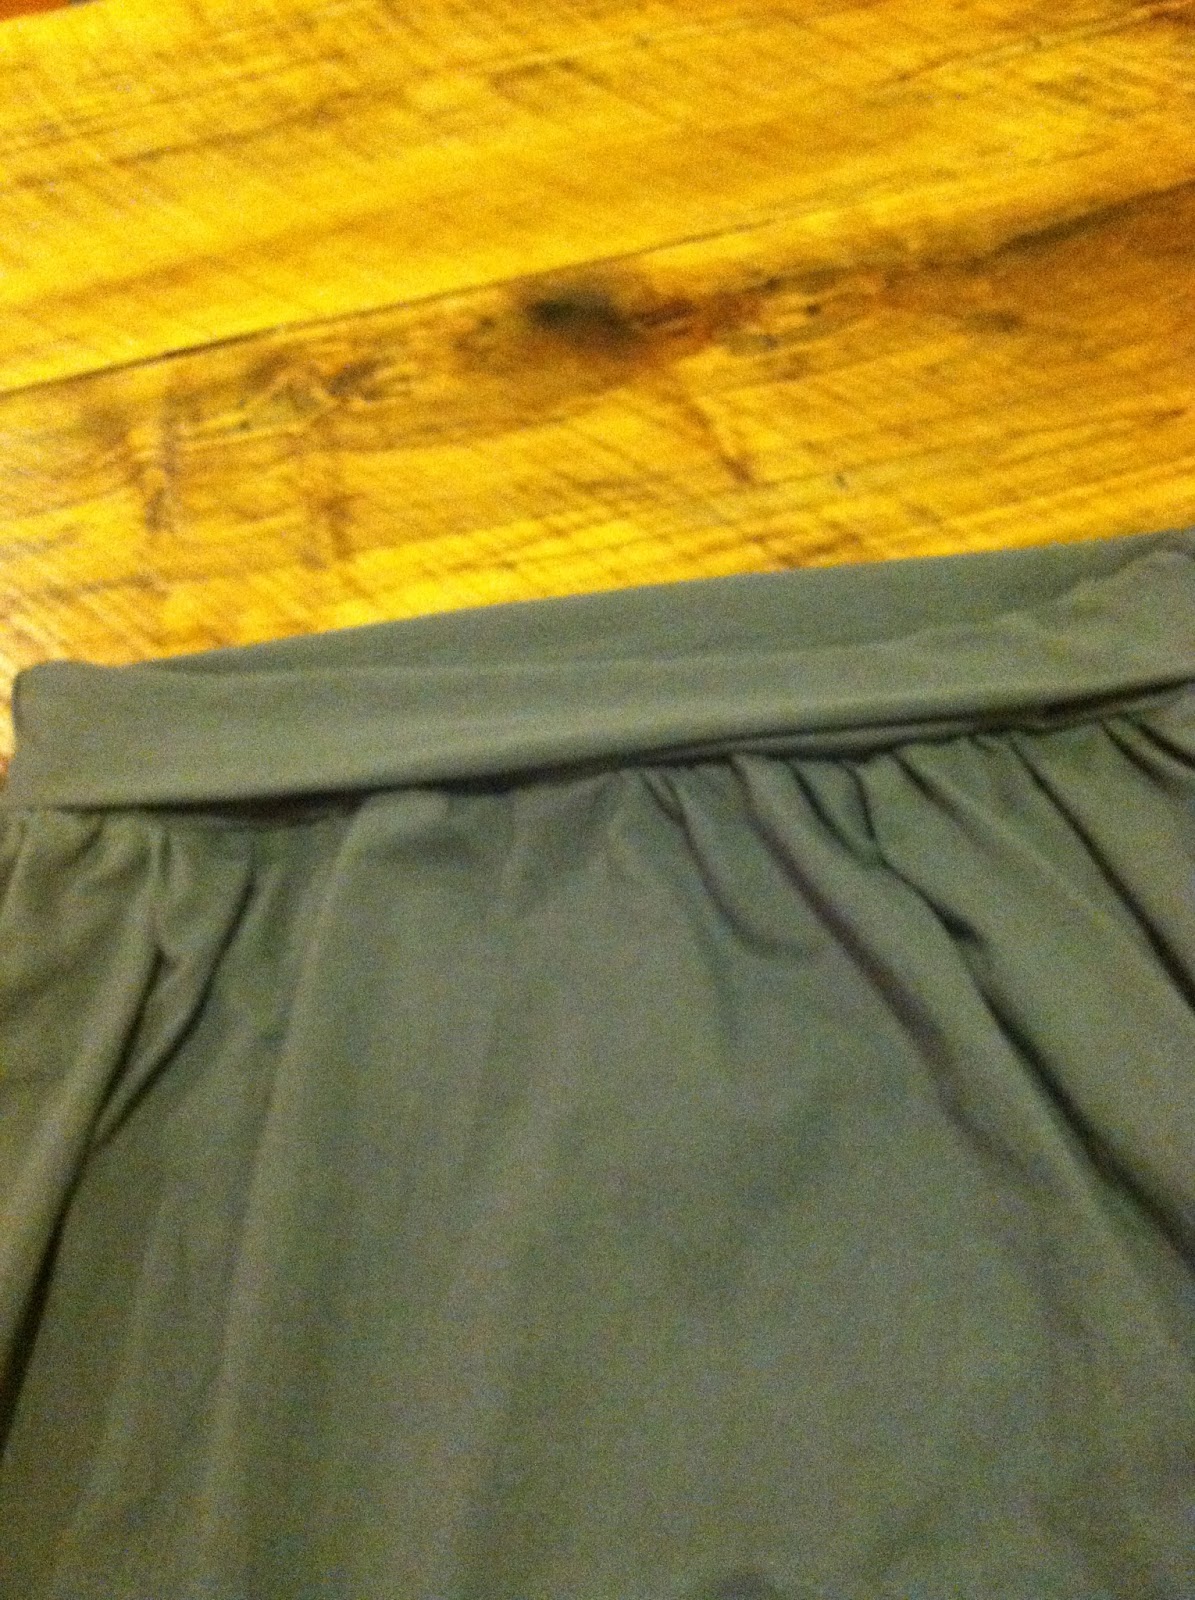
Yay! Here's your skirt. At this point you can hem the skirt to the proper length after you try it on. Knit jersey fabric rolls well, so if you decide you'd rather not, you don't have hem it.

Here is the inside of your skirt. You can remove the piece of yarn that you used to gather the fabric by pulling it out.


I still need to shorten my skirt, but here is what the finished skirt looks like. It's flowy, loose, and comfortable.
Please comment if you run into any problems. Happy Sewing!
Thursday, August 1, 2013
Another Trip to the Scrap Exchange

Today was another beautiful cloudy day, perfect for heading over to the Scrap Exchange for another perusal. I collected more of their information and took tons of pictures this time. I spent more time noticing and examining things even if I didn't have any plan to take them home with me. Because who doesn't love an interesting time?


The woven floral mural outside the front entrance is made with pieces of trash, old markers, and ribbon woven into a chicken wire fence for some great three-dimensional art.


This hexagon bag is really sweet. It's fully lined and pretty thick, so nothing you carry is going to make it look lumpy. It's made from an old quilt. Aren't the colors beautiful?


A welded metal tulip (art for your house or garden, perhaps).

Reclaimed clay pottery.
There was a set of china from the area that the Scrap Exchange sells products from local artists that focus on creatively reusing materials. The set of floral china had lawnmowers, 18 wheelers, violins, and telescopes drawn onto them (Reinvented Pottery by Rebecca Newman from Granville County).


A tower of hand knit and crocheted baby caps (presumably from recycled yarn).

Welded metal fish with keys, washers, and silverware.

This was one of my favorite pieces in the artist's section: a scrap quilt.

This was one of many interesting bins. This blue bin is filled with assorted puzzle pieces.


There are tunnels between the aisles at a child's height made from old film canisters, plastic boxes, and ancient computers.


Their collection of stamps is great. Lots of selection, most of them are brand new. The stamps on the left were some of my favorites that I thought could be cute for card making.


The fabric section is quite inspiring. So many possibilities! So much to try! Everything from 75 cent fat quarters, to gorgeous rolls of decorating and knit fabric for only $3/yard. I got two pieces of knit fabrics to make some more maxi skirts. Pictures of those will follow.


The steamer trunk is filled with large fabric scraps. The trunk even has a name and old address written on a tag on the side (the address is in Pennsylvania).


I am pretty convinced you could build a house almost entirely from material found at the Scrap Exchange. There are windows, mirrors, chandeliers, pieces of wood, strange things seeking new purpose in life, and tiles.


Over an archway leading to the room they use for hosting crafting birthday parties is a group of mannequin legs wearing hand knit leg warmers in all these different stitch patterns.


For your own exciting, creative discoveries, you should stop by the Scrap Exchange. They are constantly getting new donations and changing what is on sale, so everything is always rotating.
Happy Crafting!
Subscribe to:
Posts (Atom)